Stéphane
You might want to try Mark Townley's trick of applying a heavily median filtered version of the image to act as a flat. He has videos on his site.
Basically the process involves making a duplicate layer in Photoshop, then applying a heavy median filter to the image. What you want to do is make the radius of the median filter larger than any image detail but smaller than the width of the rings (in pixels). In Mark's video, he mentions that he uses a radius of 70 as a starting point for his images, but that the radius is dependent on your particular image. You then change the blending mode of the layer to Difference, at which point the screen will go mostly black. Use the Curves adjustment to adjust the shape of the tone curve for your median filtered layer. As you pull the curve downward, your image will become brighter and the detail will begin to emerge. It is then a bit of a balancing act to get the right balance in the image. Mark uses the Darken preset in the Curves adjustment and demonstrates that in his video. I like to adjust the tone curve more directly. To each his own.
When you get the image balanced out, it will still be rather dark. Flatten the image and then use Curves again to restore the brightness range in the image that you want.
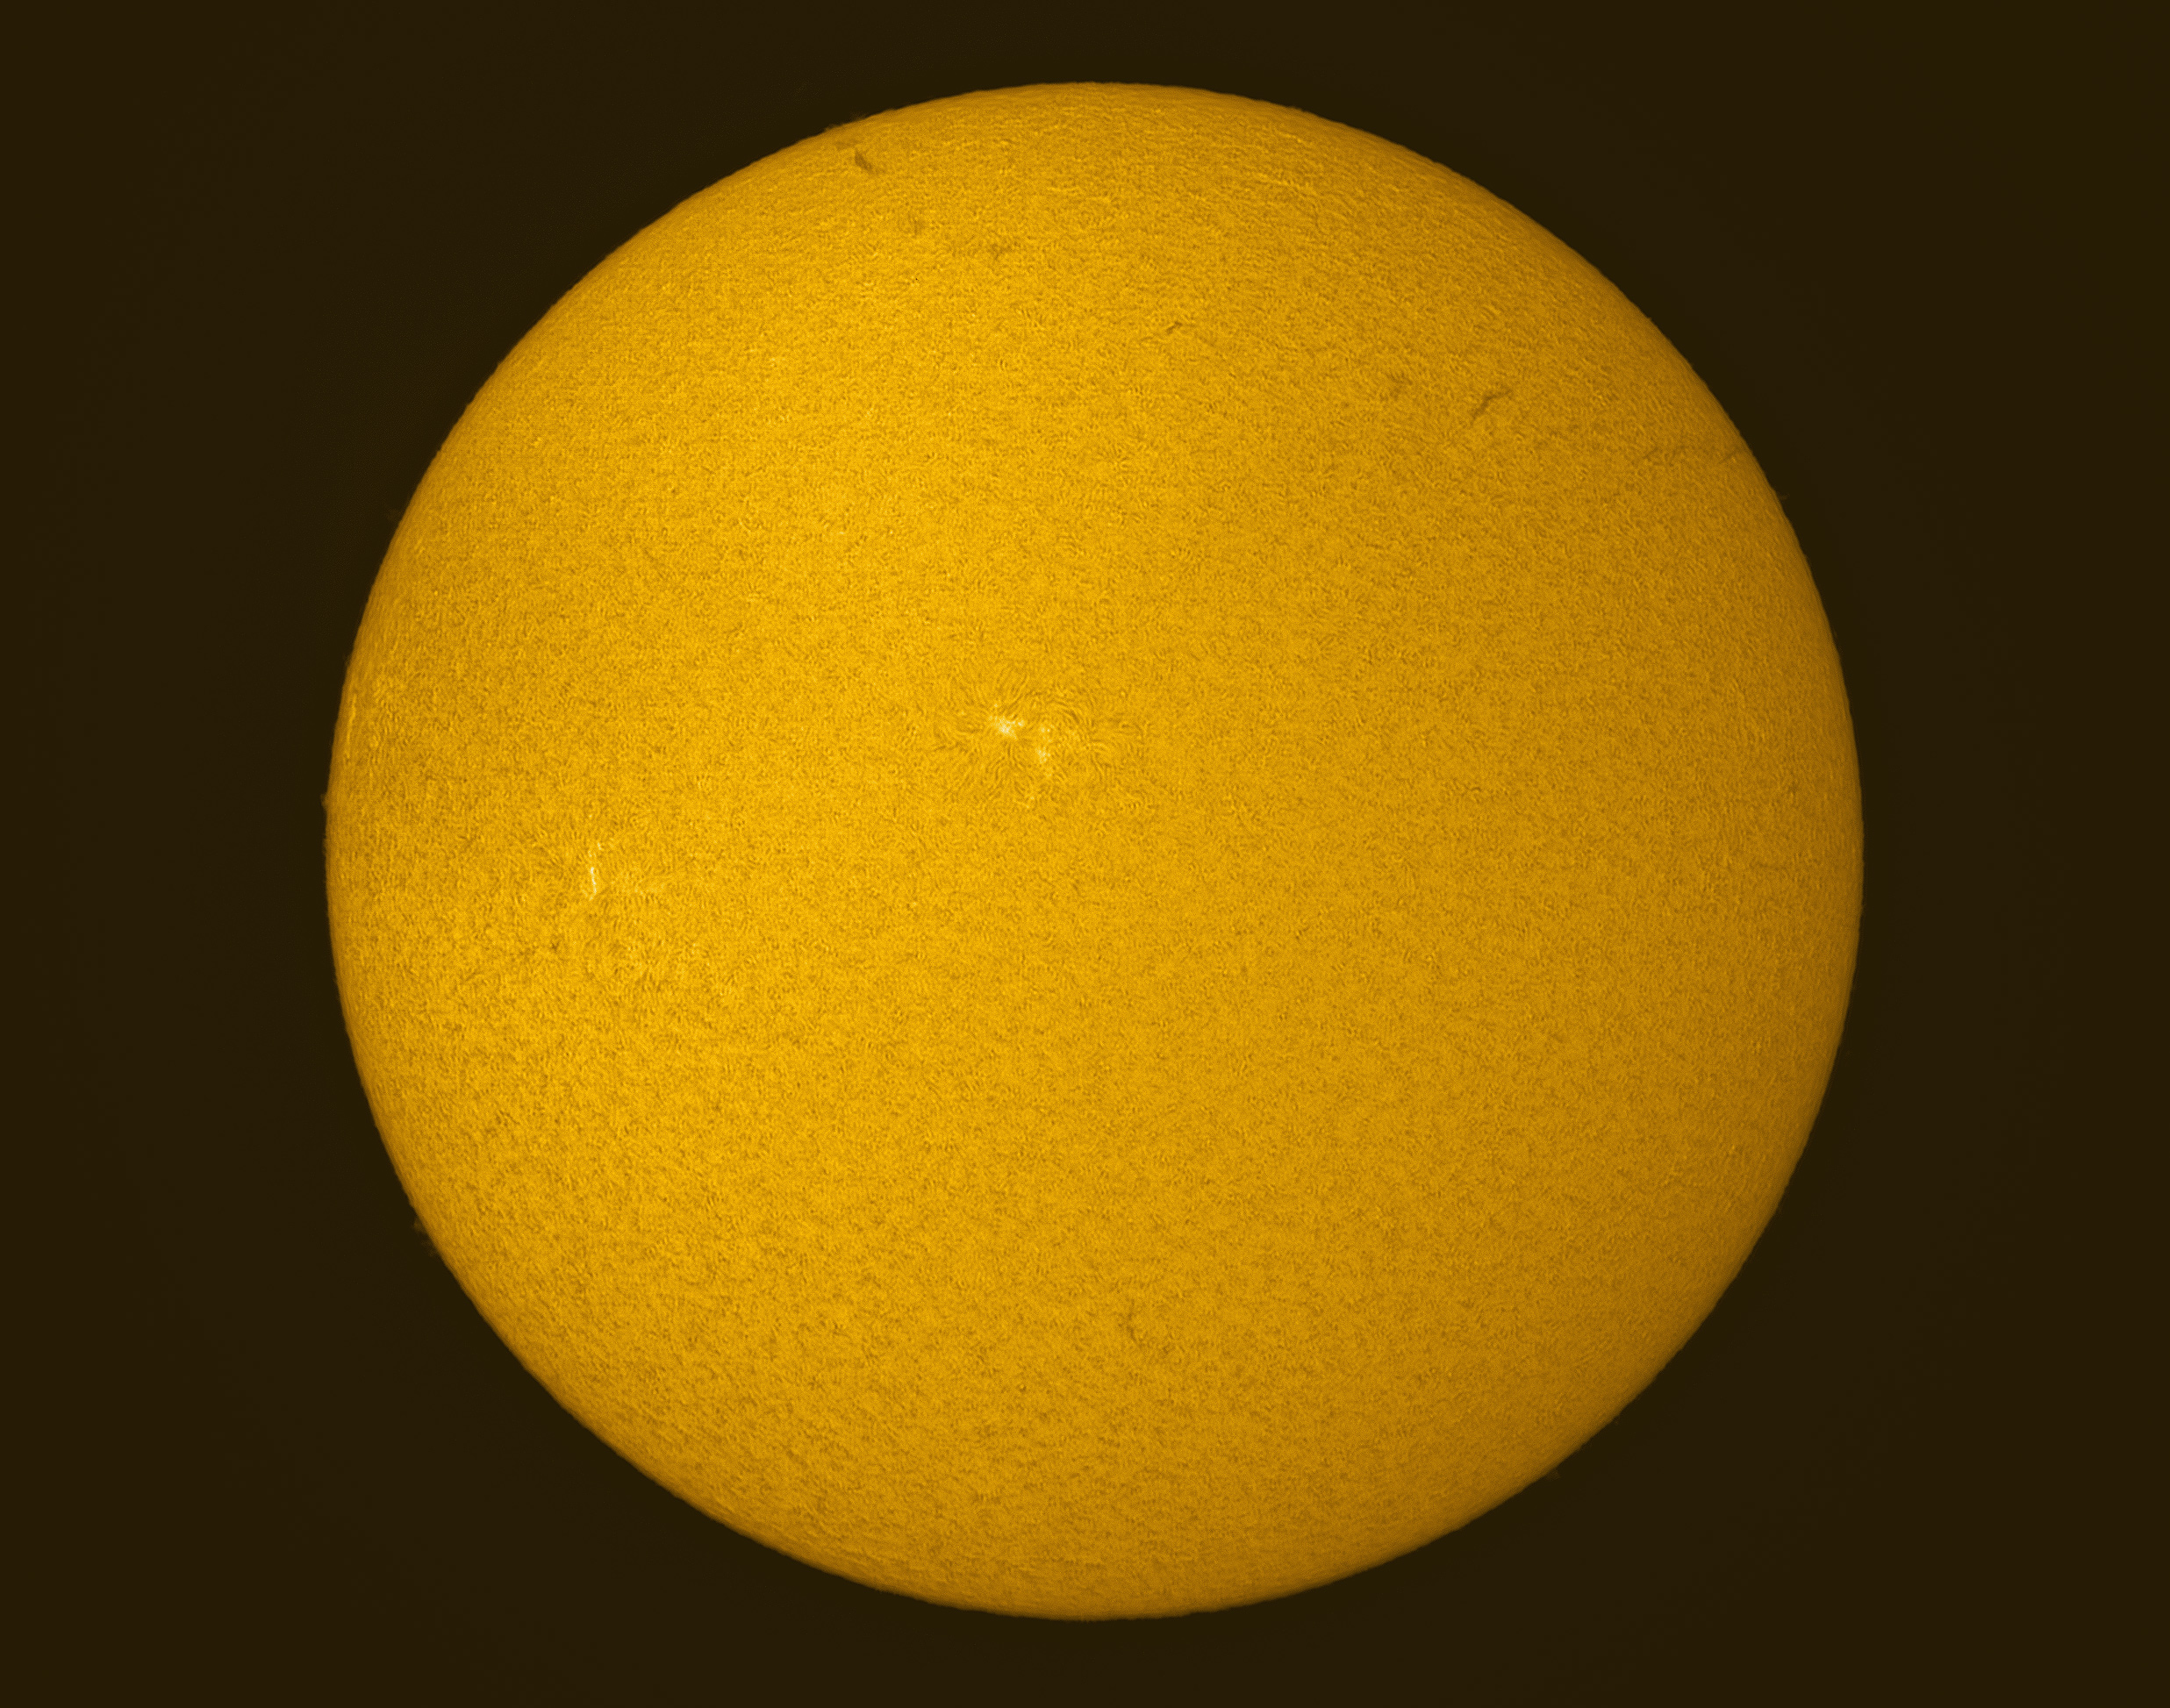
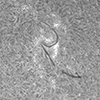
I applied Mark's method to your image. I reverted to monochrome, because the method works easier at that point in the workflow. The point at which you set the Difference mode can cause problems with colored images. Based on the size of your image, I ended up using a median radius on 20. This is a low number, but your rings are closely spaced and I had to keep the median radius low so I that I didn't wipe them out. Here is what the median filtered image looks like

- S20180508-09h02UT-sm40DS-fs60-gpx1.25-bf10-bx2.5-asi178mm-r50Median filtered.jpg (272.74 KiB) Viewed 1348 times
I would like to use a larger median radius because what you really want to do is wipe out all of the detail in the disk leaving only the rings. As you can see, there is a good bit of the larger features remaining in the filtered image. You can use the Healing Brush to paint in a more representative shade.

- S20180508-09h02UT-sm40DS-fs60-gpx1.25-bf10-bx2.5-asi178mm-r50Median filtered patched.jpg (274.07 KiB) Viewed 1348 times
Don't be afraid to smooth out the light and dark areas more than I did. You want this image to be the best representation of the rings possible.
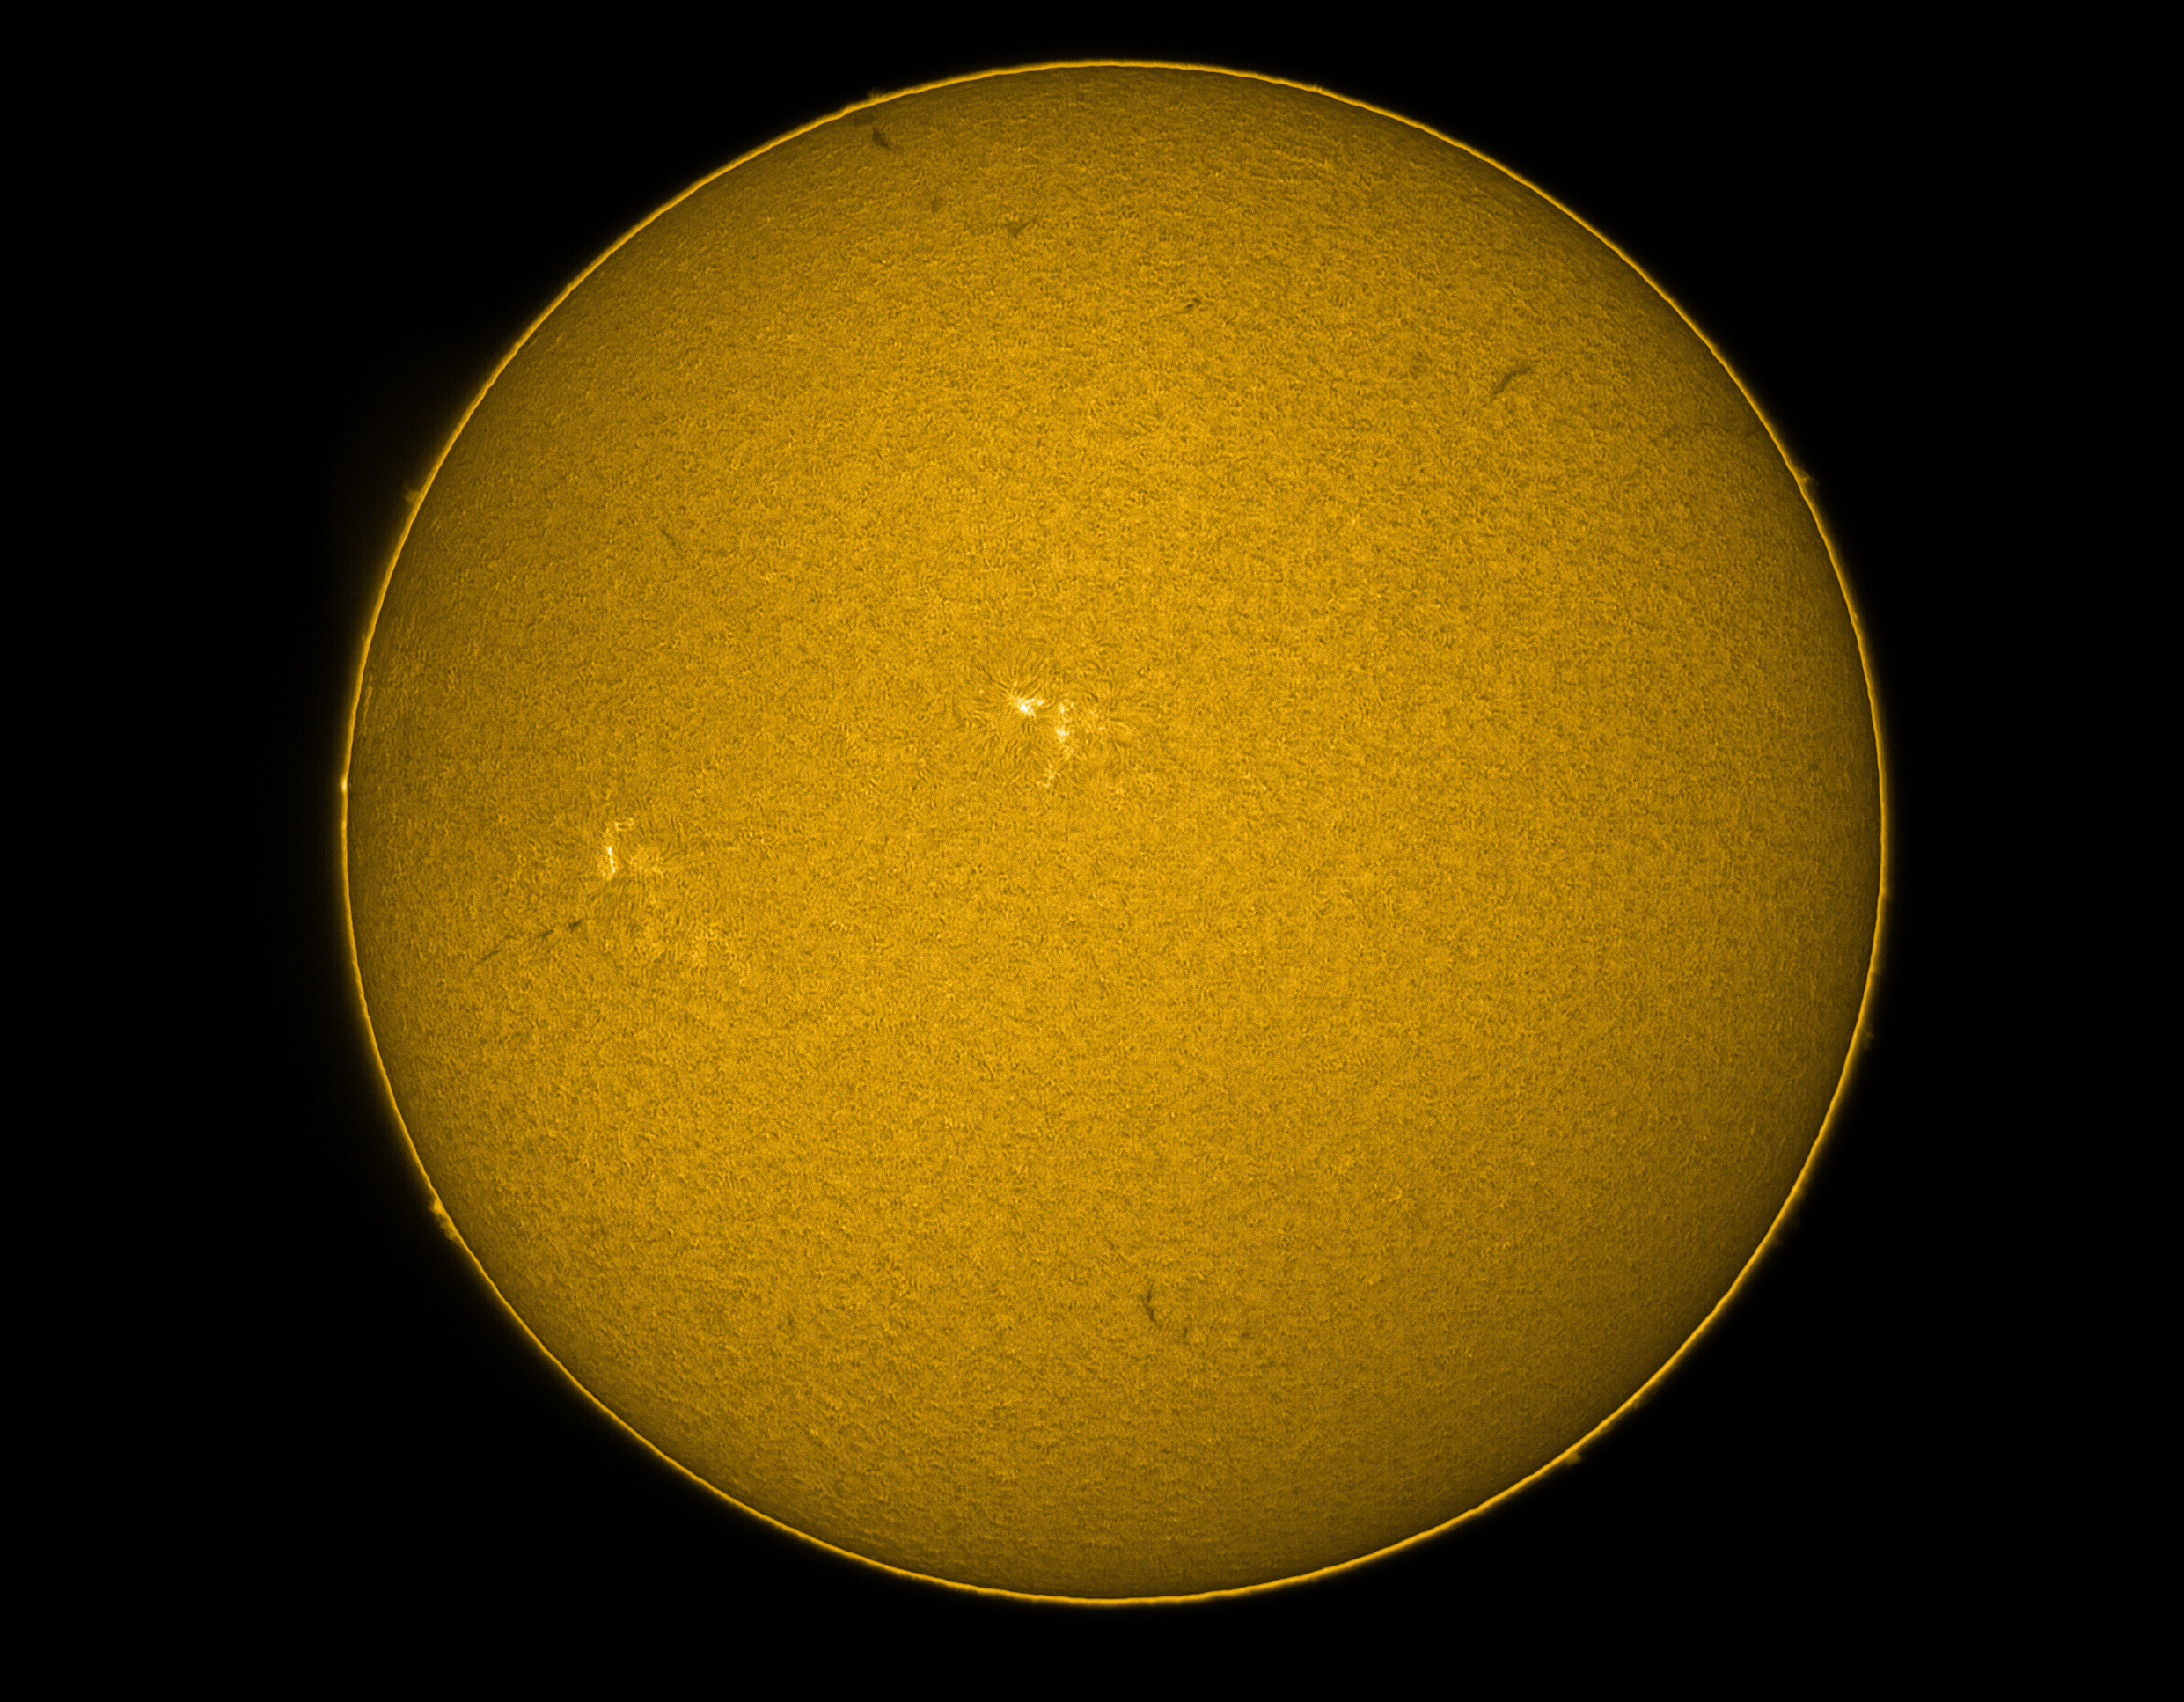
After changing the mode to Difference, flattening the image and restoring contrast, this is what I got

- S20180508-09h02UT-sm40DS-fs60-gpx1.25-bf10-bx2.5-asi178mm-r50 with median.jpg (948.39 KiB) Viewed 1348 times
There are still some traces of the rings, but the severity has been greatly reduced. Note also that the brightness across the face of the disk has also been flattened. This can be advantageous if your etalon has a hot spot, but if you want the brightness to vary as it did in the original, then it's just a couple more steps in Photoshop