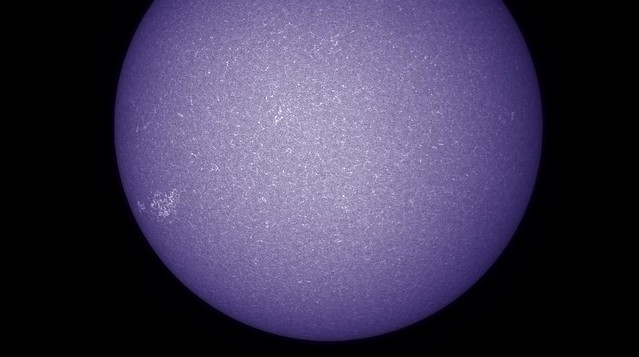
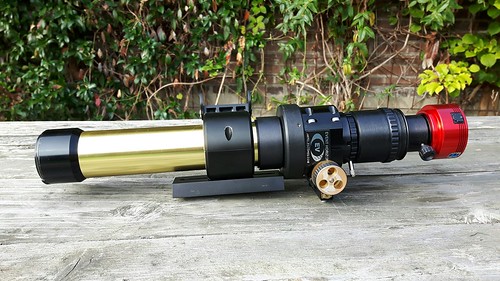
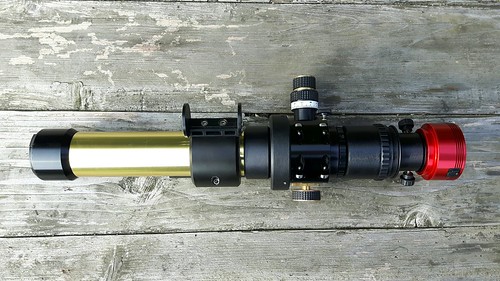
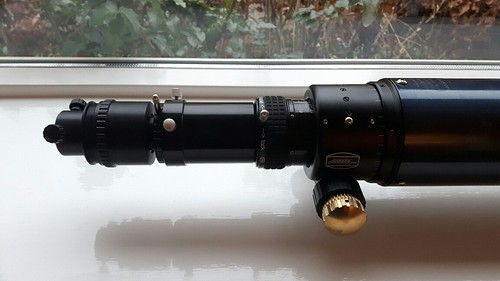
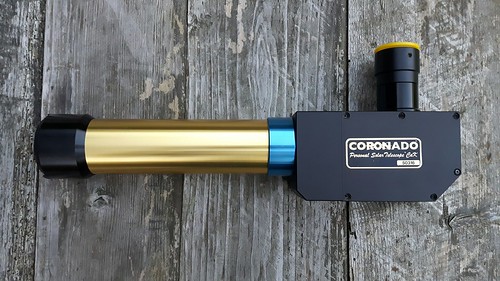
1. The original PST CaK
 20181012_183558_resized_1 by bart moors, on Flickr
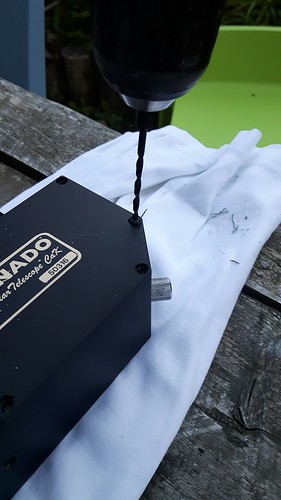
2. Problem number 1, destroyed one of the screws, so had to drill it out.
 20181012_184327_resized_1 by bart moors, on Flickr
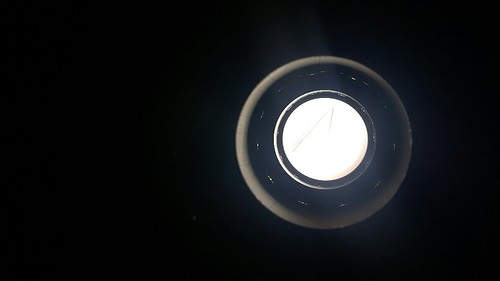
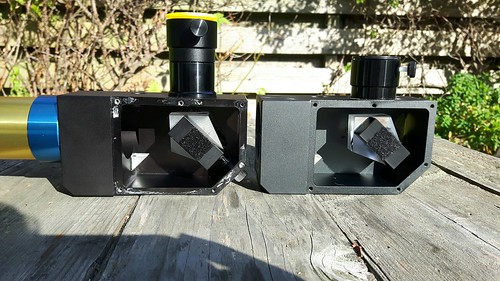
3. The inside of the PsT CaK
 20181013_113749_resized_1 by bart moors, on Flickr
It looks exactly the same as a "normal" PST
 20181013_113909_resized_1 by bart moors, on Flickr
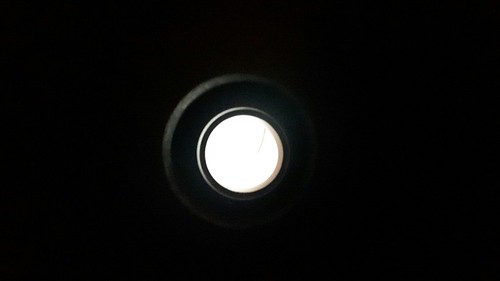
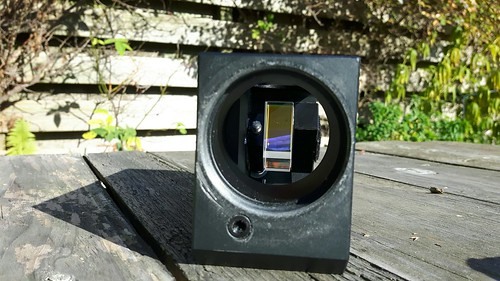
Two other pictures of the inside of the PST, first one from the front, seconde one from the top (right side points to the frontlens).
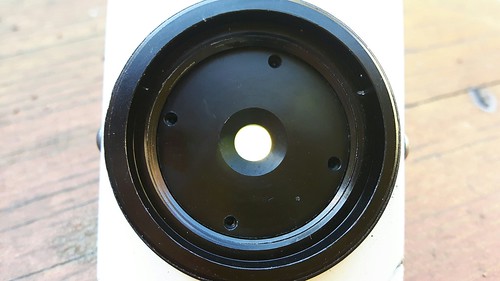
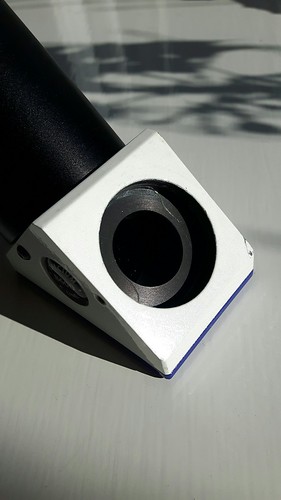
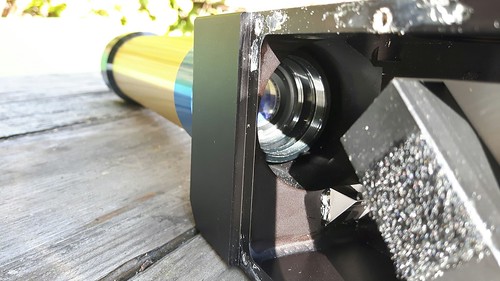
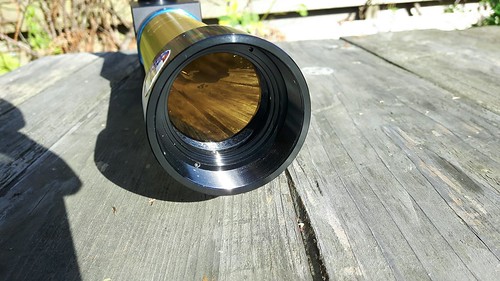
 20181013_121223_resized_1 by bart moors, on Flickr
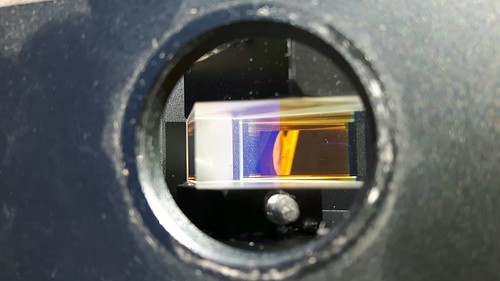 20181013_121239_resized_1 by bart moors, on Flickr
Here you can see the retaining ring that holds the cell the #2 filter is placed in.
 20181013_113827_resized_1 by bart moors, on Flickr
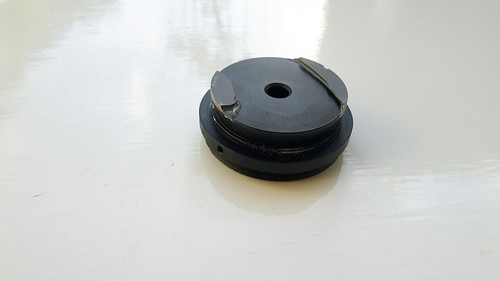
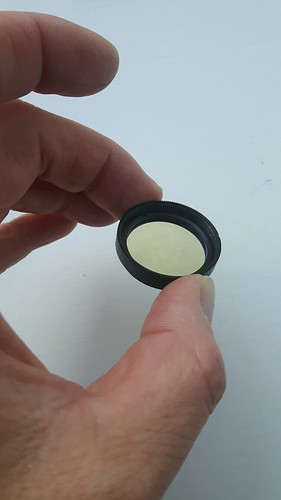
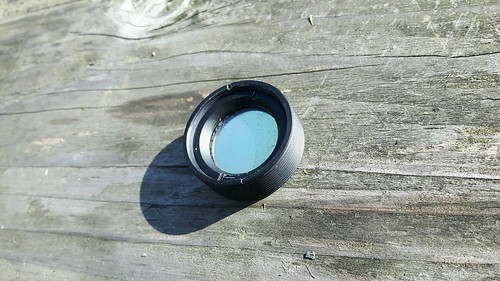
4. The #2 filter
It is quite easy to release the filter cell, just by turning the retaining ring. Use a screwdriver (gently) and it pops out.
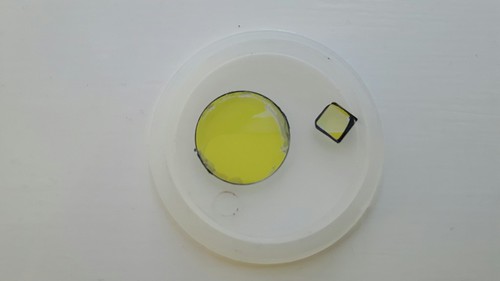
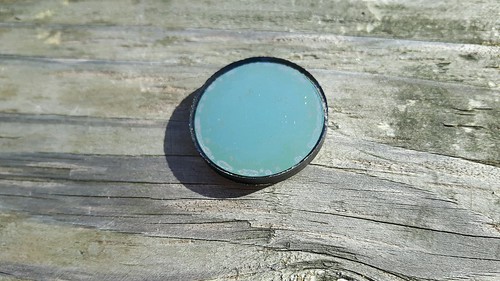
 20181013_114905_resized_1 by bart moors, on Flickr
Yes it is damaged.
 20181013_115114_resized_1 by bart moors, on Flickr
And consists of two pieces.
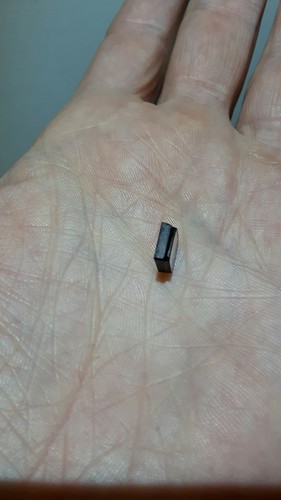
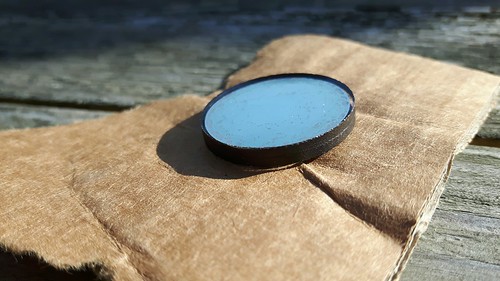 20181013_115039_resized_1 by bart moors, on Flickr
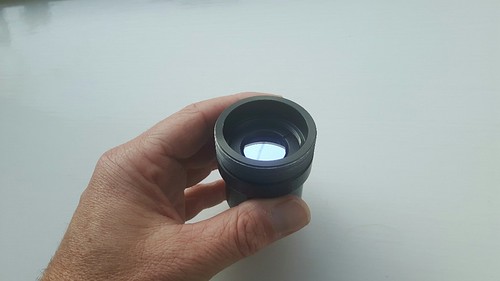
5. The front lens
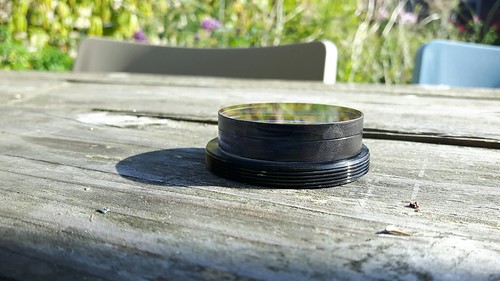
With a lens spanner it is east to pop the front lens out.
 20181013_114121_resized_1 by bart moors, on Flickr
And here it is, lying on the retainer ring.
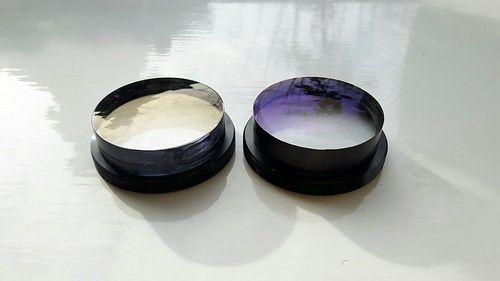
 20181013_115630_resized_1 by bart moors, on Flickr
6. You can see the #1 filter and the retaining ring.
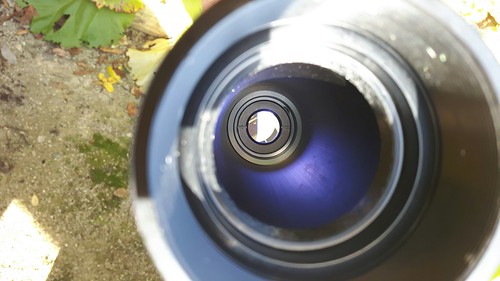 20181013_115716_resized_1 by bart moors, on Flickr
Could reach the retaining ring, but could not move it. So that is it for now, winter is still long. Will try again to remove the tube the way it is supposed. But otherwise will drill two holes in it and use a metal rod to twist everything.
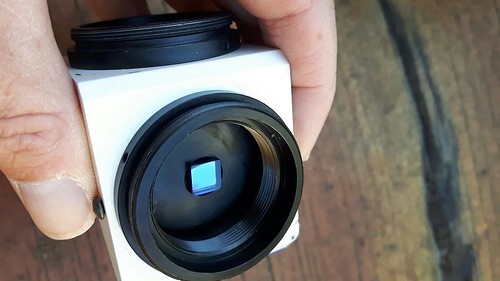
If anybody needs other pictures, please let me know, it is all lying around here.
CS! Bart.